Tel: 01474 876800 • Client Portal
- Who We Are
- What We Do
- Build
- Carpentry
- Building Works
- Commercial Flooring
- Commercial Glazing
- Commercial Locksmith
- Commercial Painting & Decorating
- Commercial Plastering
- Commercial Plumbing
- Commercial Refurbishment
- Commercial Roofing
- Design & Construction
- Electrical Installation
- Hard & Soft Landscaping
- Mechanical & Electrical
- Office Builders
- Office Fit Outs
- Office Heating
- Office Partitioning
- Office Relocation
- Site Management
- Maintain
- 24 Hour Helpdesk
- Access Control
- Air Conditioner Repair
- Air Conditioning Servicing
- Commercial Boiler Servicing
- Commercial Electricians
- Commercial Ground Maintenance
- Commercial Pest Control
- Commercial Property Maintenance
- Drain Unblocking
- Emergency Callouts
- Emergency Light Testing
- Facilities Management
- Fire Alarm Testing
- Fire Extinguisher Testing
- Fire Sprinkler Testing
- Fixed Wire Testing
- Handyman Service
- Lift Servicing
- Office Health & Safety
- PAT Testing
- Planned Preventative Maintenance
- Reactive Maintenance
- Roof Maintenance
- TMV Maintenance
- Water Hygiene
- Clean
- Build
- How We Do It
- Why Use Us
- Contact
How to Clean a Keyboard
Keyboards, essential tools for our daily digital interactions, often accumulate dust, crumbs, and grime.
Knowing how to clean a keyboard not only keeps it looking tidy but also ensures a hygienic workspace.
In this article, we’ll explore the step-by-step process of how to clean a keyboard, from standard ones to mechanical and laptop keyboards.
Table of Contents
What you Will Need to Clean a Keyboard
To effectively clean your keyboard, you will need to gather the following essential tools:
Soft Brush
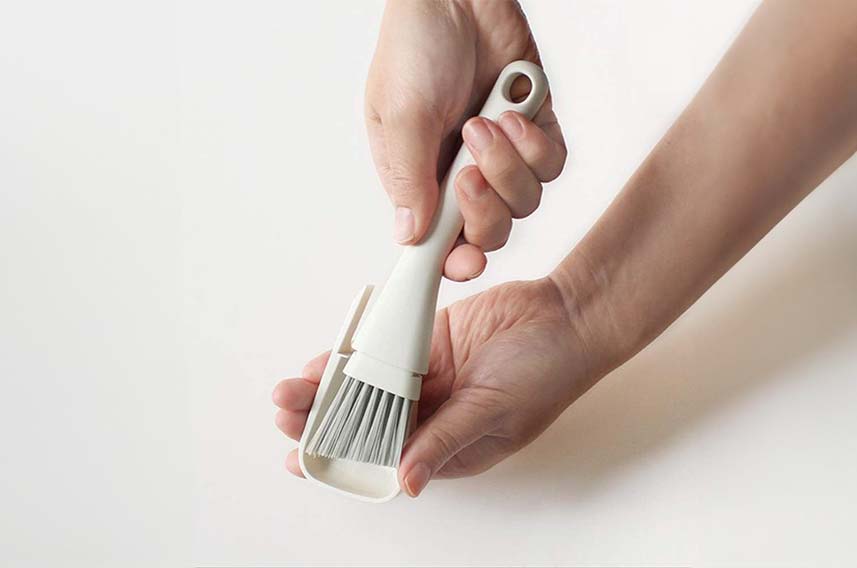
A soft-bristled is needed for loose debris, efficiently sweeping away particles that may have nestled between the keys.
Compressed Air
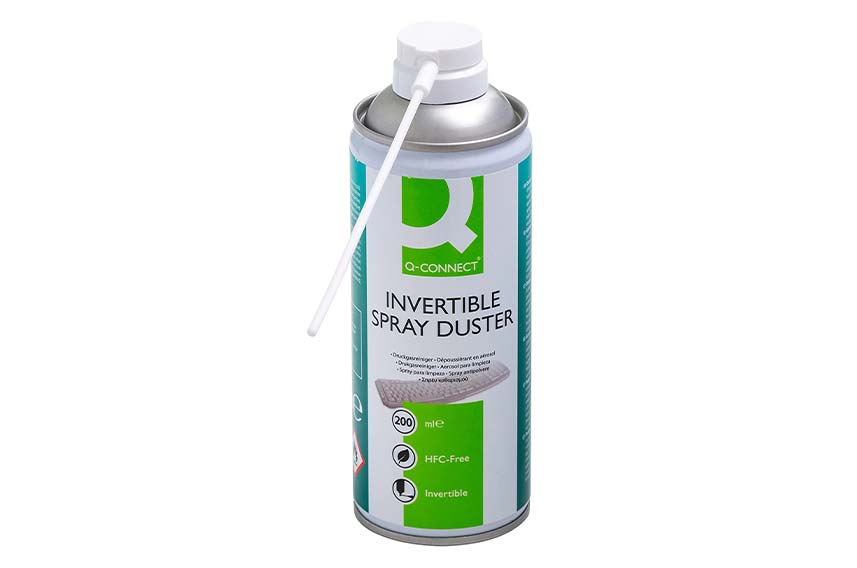
Ideal for reaching those intricate nooks and crannies, compressed air is your go-to for blowing away dust in areas that a brush might not reach easily.
Vacuum Cleaner

Elevate your cleaning game with a vacuum cleaner, which efficiently sucks up the loosened debris, ensuring a thorough cleansing of your keyboard.
Cotton Buds
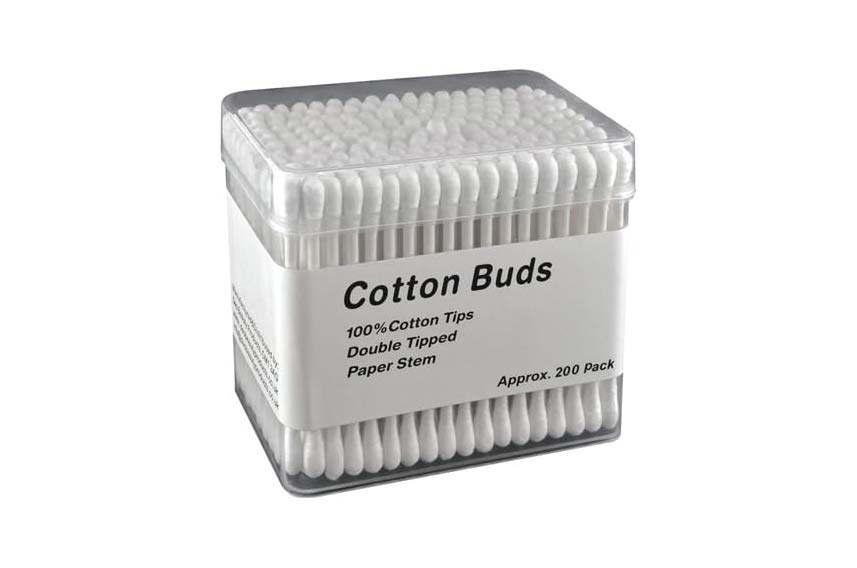
For precision cleaning in small and intricate spaces, cotton buds prove invaluable in tackling those hard-to-reach spots.
Isopropyl Alcohol
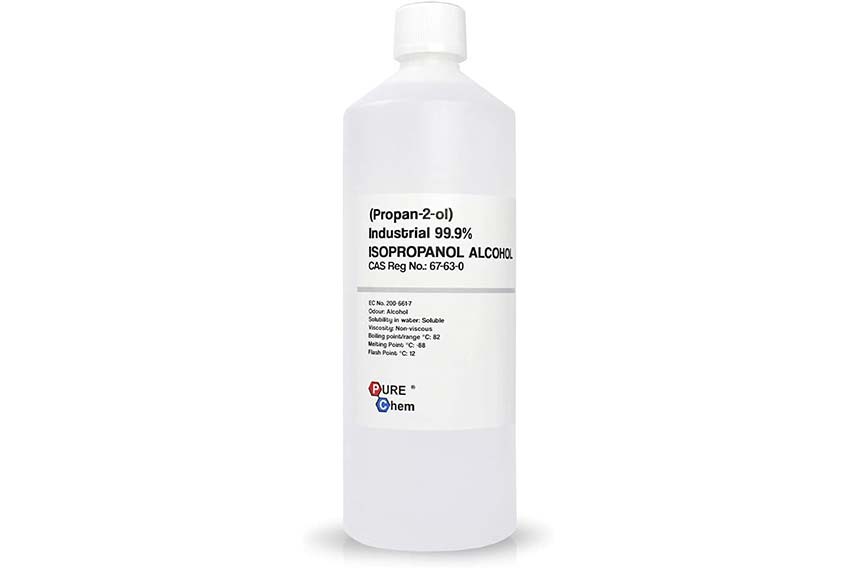
Isopropyl alcohol serves a dual purpose – disinfecting and cleaning your keyboard, providing a hygienic workspace.
Microfibre Cloth

A gentle touch is essential, and a microfibre cloth offers precisely that, ensuring a thorough cleaning without the risk of scratching the surface.
Soap and Water (for Mechanical Keyboards)
When dealing with mechanical keyboards, a deeper clean may be required.
A solution of soap and water aids in lifting and removing stubborn grime.
Sponge (for Mechanical Keyboards)
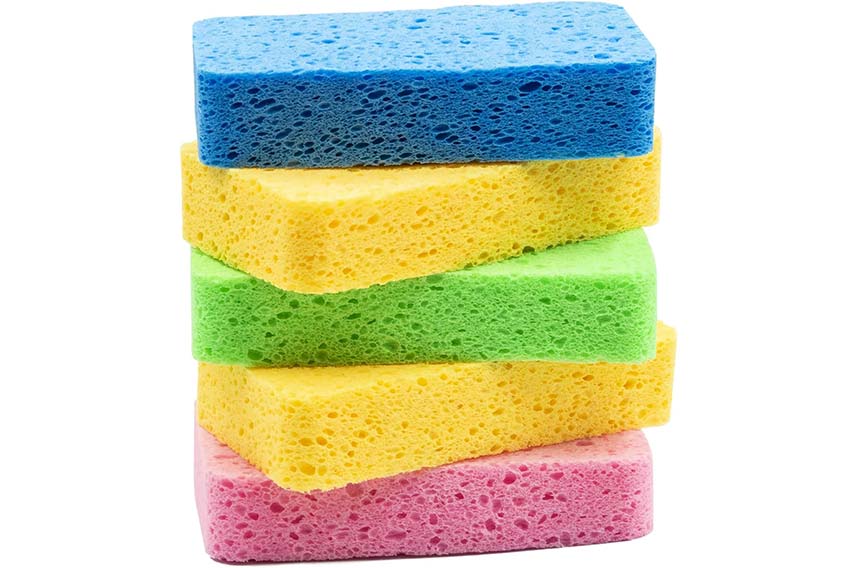
To tackle the intricate components of mechanical keyboards, a sponge becomes a handy tool for scrubbing keys and ensuring a meticulous clean.
How to Clean a Keyboard
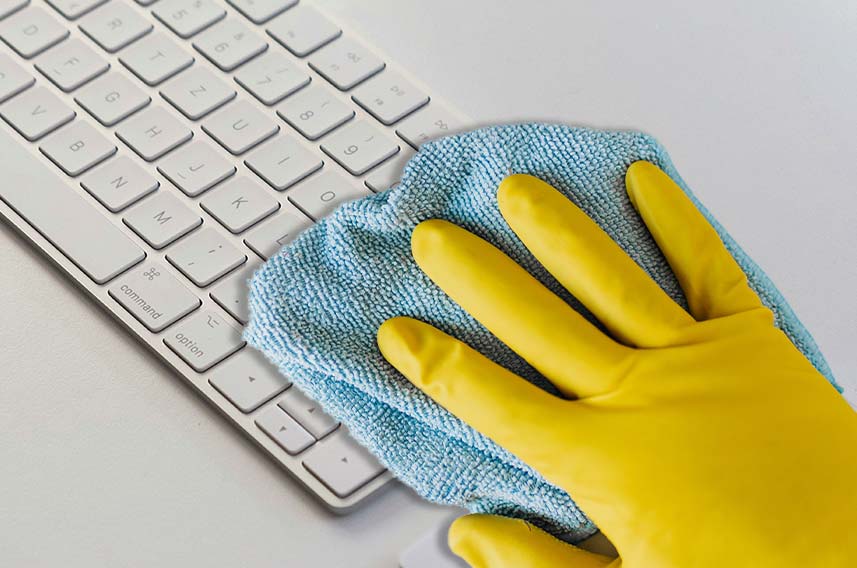
Follow these steps for an effective cleaning process:
Shut Down PC and Unplug Keyboard
Before starting the cleaning process, prioritise safety by shutting down your computer and unplugging the keyboard.
This prevents any electrical mishaps and ensures a secure cleaning environment.
Turn Upside Down and Shake
Begin by turning the keyboard upside down and giving it a good shake.
This step helps dislodge loose crumbs and debris that may have accumulated between the keys.
Use Brush on Loose Debris
Employ a soft-bristled brush to sweep away larger particles and surface-level debris.
Gently brush across the keyboard to ensure thorough removal of any loose elements.
Use Compressed Air on the Dust
Reach the challenging nooks and crannies by utilising compressed air.
Blow away dust from hard-to-reach areas, such as beneath the keys and around the edges, to achieve a comprehensive cleaning.
Use a Vacuum on the Loosened Debris
Take your cleaning a step further by using a vacuum cleaner with a nozzle attachment.
Suck up the loosened debris that shaking and brushing may not have completely eliminated. This ensures a more meticulous cleansing process.
Use a Cotton Bud with Isopropyl Alcohol
For precise cleaning of stubborn spots or areas with built-up grime, dip a cotton bud in isopropyl alcohol.
Carefully clean between the keys and around buttons, targeting specific areas that require extra attention.
Wipe With a Microfibre Cloth
Complete the cleaning process by wiping down the entire keyboard with a microfibre cloth.
This gentle yet effective material ensures a final touch of cleanliness, removing any remaining dust particles and providing a polished finish.
How to Clean a Mechanical Keyboard
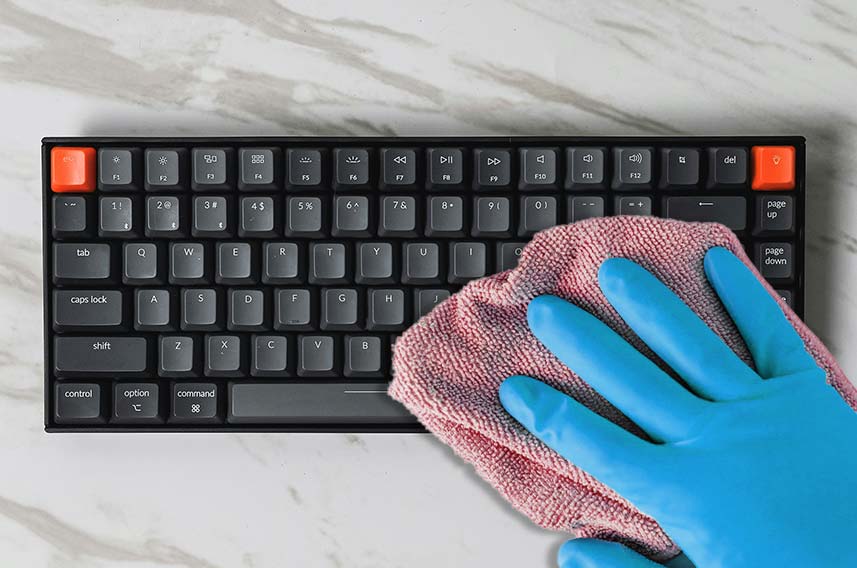
Follow Steps 1 to 7 Above
Begin by following the initial steps outlined for cleaning a standard keyboard.
This includes shutting down your PC, unplugging the keyboard, shaking loose debris, using a soft brush, employing compressed air, vacuuming, using a cotton bud with isopropyl alcohol, and wiping with a microfibre cloth.
Carefully Remove Keys
Unlike standard keyboards, mechanical keyboards provide the option to remove individual keys for a more in-depth clean.
Carefully pop off the keys using a keycap puller or a screwdriver, ensuring a gentle approach to prevent any damage.
Place in Soap and Water
Submerge the removed keys in a mixture of mild soap and water for a deep clean.
Allow them to soak, ensuring that any accumulated grime or dirt is effectively loosened from the keycaps.
Scrub with Sponge
Take a sponge and scrub each key thoroughly.
This step helps to eliminate any remaining grime, ensuring a comprehensive cleaning process.
Pay attention to the contours and corners of the keycaps.
Put Keyboard Back Together
After scrubbing and ensuring that each key is spotless, allow them to dry completely.
Once dry, carefully reassemble the keyboard by placing each key back in its designated position.
Ensure that the keys are securely attached, providing a functional and aesthetically pleasing result.
How to Clean a Laptop Keyboard
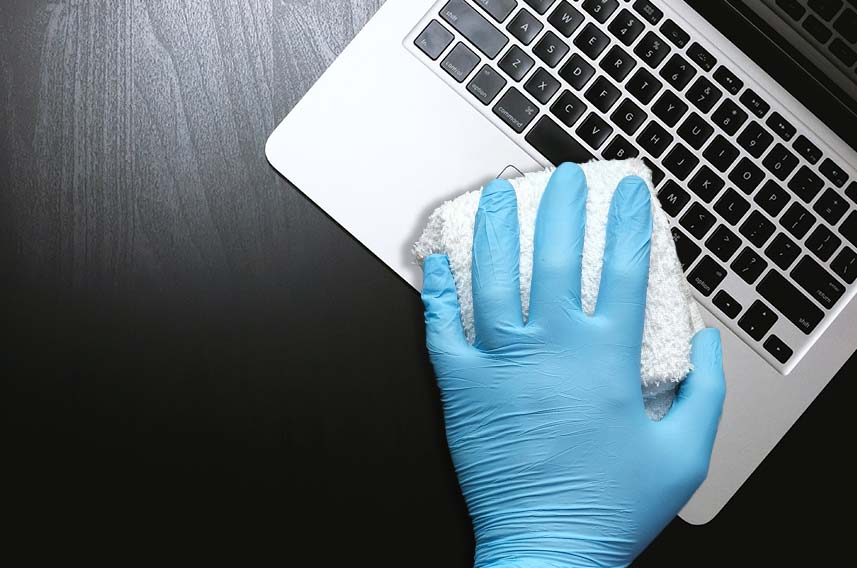
Here’s a step-by-step guide on how to clean your laptop keyboard effectively:
Shut Down Laptop
Always start by shutting down your laptop and ensuring it’s completely powered off and unplugged.
This precautionary measure ensures safety during the cleaning process and prevents accidental key presses.
Turn Laptop Upside Down
Turn your laptop upside down to remove loose debris that may have found its way beneath the keys.
Gently shake the laptop to dislodge any crumbs or particles that might hinder the cleaning process.
Use Brush Between Keys
Employ a soft-bristled brush to navigate between the keys and brush away any remaining crumbs or dirt.
A gentle sweep will help dislodge particles, preparing the keyboard for a more thorough cleaning.
Carefully Use Compressed Air
Utilise compressed air to blow out any remaining dust or debris from the keyboard.
Hold the laptop at a slight angle to allow the dislodged particles to fall out.
Be cautious not to use excessive force, as it might damage the keys.
Wipe Down with Microfibre Cloth
Complete the cleaning process by wiping down the entire laptop keyboard with a microfibre cloth.
This material is gentle on the keys and ensures a clean finish without scratching the surface. Pay attention to detail, cleaning each key meticulously.
What to Avoid When Cleaning a Keyboard

Here’s a guide on what to steer clear of during the cleaning process:
Water
One of the cardinal rules in keyboard cleaning is to avoid water.
Moisture is an electronic device’s arch-nemesis, and keyboards are no exception.
Introducing water to your keyboard can lead to irreversible damage, causing malfunction or even rendering it inoperable.
Always opt for dry cleaning methods to preserve the integrity of your keyboard.
Liquid Cleaners
Liquid cleaners, though seemingly effective, pose a significant risk.
Spills are not uncommon during cleaning, and liquid cleaners can seep into the keyboard, causing electrical shorts and damage to internal components.
Stick to dry cleaning solutions to prevent any accidental liquid-related mishaps.
Using Too Much Compressed Air
While compressed air is a valuable tool for dislodging dust and debris, excessive use can have counterproductive effects.
Blowing too much air at high pressure may force particles deeper into the keyboard, making it harder to clean.
Use compressed air judiciously, maintaining a reasonable distance and pressure to avoid unintended consequences.
Using Too Much Isopropyl Alcohol
Isopropyl alcohol is a great disinfectant and cleaner, but moderation is key.
Excessive use may harm the keyboard’s finish, leading to discoloration or damage.
When using isopropyl alcohol, apply it sparingly to avoid overexposure.
Additionally, ensure the keyboard is completely dry before reconnecting it to your computer.
How Often Should I Clean a Keyboard
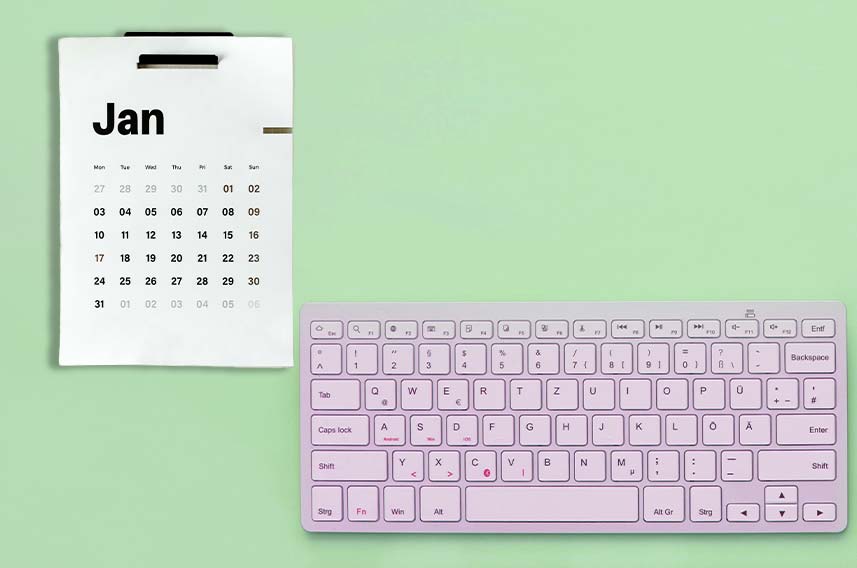
For those who extensively use their keyboards, a monthly cleaning regimen is advisable to prevent the buildup of debris and maintain optimal functionality.
On the other hand, if your keyboard experiences lighter usage, a more relaxed schedule of cleaning every 3-6 months is sufficient.
Regular cleaning not only enhances the visual appeal of your keyboard but also contributes to a healthier and more enjoyable typing experience.
By aligning the cleaning frequency with your usage intensity, you can ensure that your keyboard remains in top-notch condition, providing a clean and efficient workspace for your daily digital interactions.
What are the Benefits to Keeping a Keyboard Clean?

Prolongs Lifespan
Regular cleaning serves as a preventive measure against debris accumulation, reducing the risk of mechanical issues and prolonging the overall lifespan of your keyboard.
Maintains Hygiene
A clean keyboard minimises the risk of bacteria and germs accumulating on the keys.
This is particularly crucial for personal and shared workspaces, promoting a healthier environment.
Enhances Aesthetics
A tidy and well-maintained keyboard contributes to a visually pleasing workspace.
The absence of crumbs and dust not only looks better but also creates a more professional and organised atmosphere.
Optimises Performance
Clean keys are essential for ensuring smooth operation and responsiveness.
Regular cleaning prevents the keys from sticking or malfunctioning, optimising the overall performance of your keyboard during daily use.
Conclusion
You should now have all the tools and knowledge necessary to know how to clean a keyboard.
A clean keyboard not only looks better but also promotes a healthier and more efficient computing experience.
By following these simple cleaning methods and avoiding potential pitfalls, you can keep your keyboard in top-notch condition, ensuring a pristine and pleasant workspace for all your digital endeavours.
For more information on your cleaning needs, including keyboard cleaning, get in contact with us here at ECMS.
Request a Callback
Recent Posts
- 10 Common Saniflo Toilet Troubleshooting Solutions 01th Jul 2025
- Importance of Personal Hygiene at Work 01th Jun 2025
- How to Clean a Toilet Brush 01th May 2025
- How to Clean Painted Walls 01th Apr 2025
- How to Get Oil Stains Out of Carpet 01th Mar 2025
- How to Clean a Fridge and Remove Bad Smells 01th Feb 2025
- How to Get Coffee Stains Out of a Carpet 01th Jan 2025
- How to Clean Gutters Correctly 01th Dec 2024
- What is PAT Testing? 01th Nov 2024
- How to Clean an Oven 01th Oct 2024

